Project 3
December 08, 2020
Project 3 Original Goals
Original goals for this upgraded version:
❌ upgraded housing with etch-a-sketch using a circular dremel saw ✅ modify the controller to look clean on the housing and solder wires ✅ add second rotary encoder ✅ upgrade game with updated animations to combine with my animation classwork
Animation
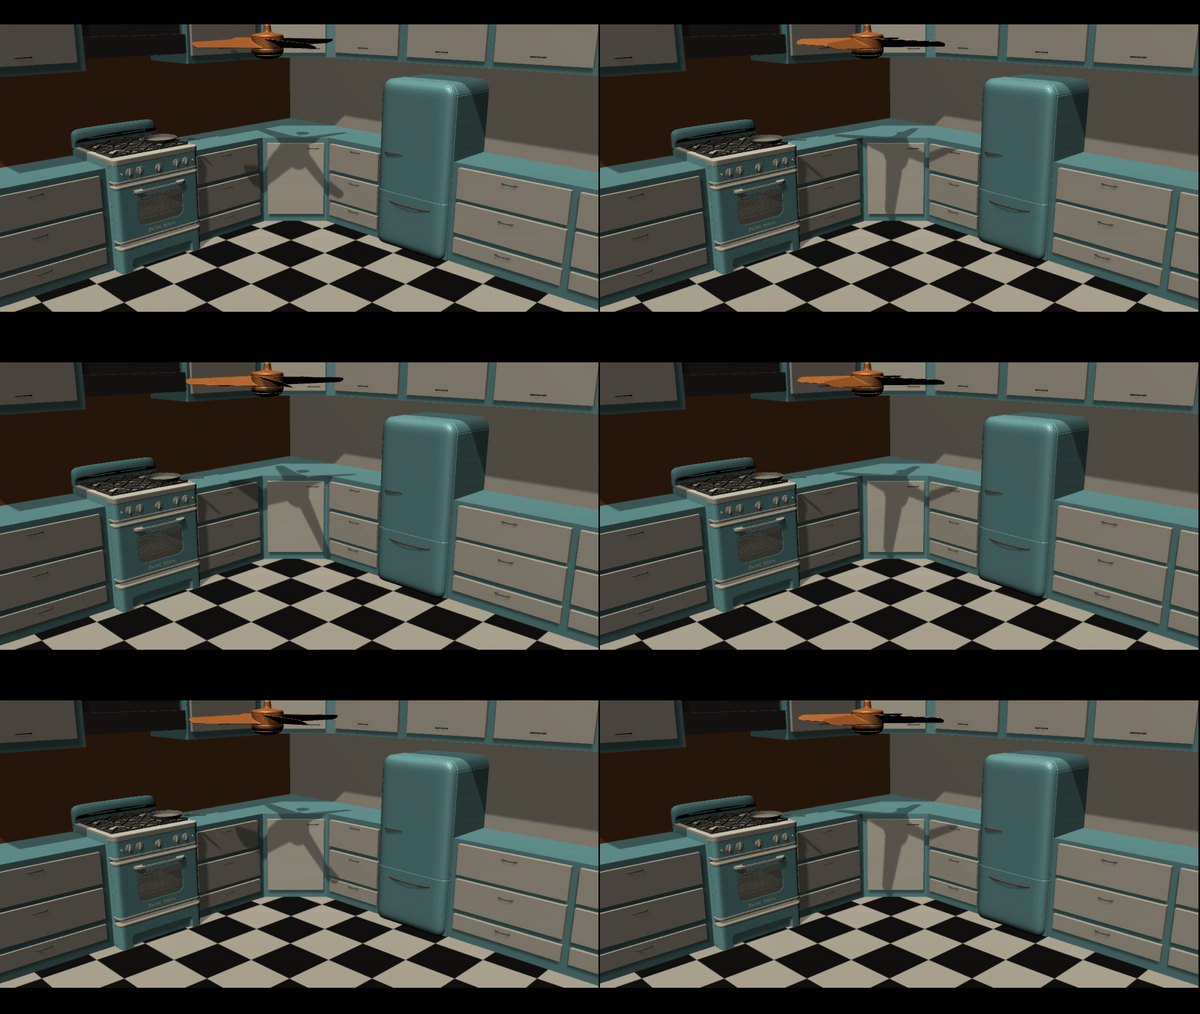
For my animation part, I wrote up how I actually designed the animation in unity. Here it is without any of the controls.

Process
I struggled a little bit to get the serial to work with unity. I followed a fellow student’s documentation about getting unity to work with my following additions in the script:
void OnDataReceived (string message) {
    try {
        // fan rotation on y axis
        if(message.IndexOf("W") == 13){
            float y = fanAnimator.transform.rotation.y;
            y += 10;
            fanAnimator.transform.Rotate(
                fanAnimator.transform.rotation.x,
                y,
                fanAnimator.transform.rotation.z, Space.Self);
        } else if (message.IndexOf("W") == 12) {
            float y = fanAnimator.transform.rotation.y;
            y -= 10;
            fanAnimator.transform.Rotate(
                fanAnimator.transform.rotation.x,
                y,
                fanAnimator.transform.rotation.z, Space.Self);
        }

        // pan animation
        else if(message.IndexOf("m") == 0){
            Debug.Log("pan animating");
            panAnimator.enabled = true;
            panAnimator.Play("pan animation", -1, 0f);
        }

        // drawer movement on z axis
        else if(message.IndexOf("I") == 13){
            float z = drawerAnimator.transform.position.z;
            if(z <= minZ){
                z += .5f;
            }
            drawerAnimator.transform.position = new Vector3(
                drawerAnimator.transform.position.x,
                drawerAnimator.transform.position.y,
                z);
        } else if(message.IndexOf("I") == 12){
            float z = drawerAnimator.transform.position.z;
            z -= .5f;
            drawerAnimator.transform.position = new Vector3(
                drawerAnimator.transform.position.x,
                drawerAnimator.transform.position.y,
                z);
        }
    } catch (System.Exception e) {
        Debug.LogWarning (e.Message);
    }
}
I functionally had the same code as the last time for the arduino, the only difference is adding the second rotary encoder. I will link my previous project here for reference.
These were for parsing the string coming in from the arduino.
Next I wired up my breadboard:
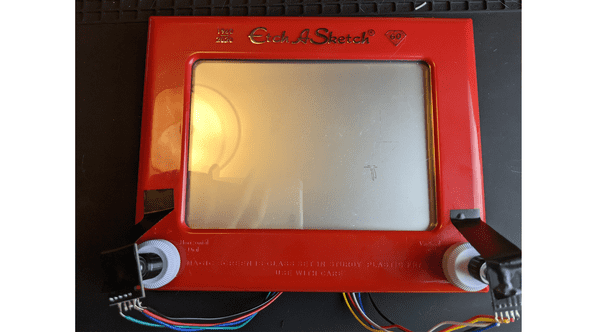
and I attached the rotary encoders to the etch-a-sketch:
and I was able to get the drawer, fan, and pan moving on screen with the encoders!
It’s a bit awkward due to how the rotaries are attached to the etch-a-sketch (glued and taped on). The left one operates the drawer and the right one operates the ceiling fan. Shaking the etch-a-sketch makes the pan move!

Overall I had fun with this project seeing it grow and if I were to take it further I would have bought several back up etch-a-sketches and refined the housing even further.
a blog by sam heckle class of itp 2022. doing shit. twitter.

