Project 2
November 09, 2020
Project 2
New Concepts: Rotary Encoder
I was looking around for rotary encoder tutorials for using one as a part of my etch a sketch. This was the initial tutorial I had found but ultimately followed this when my parts arrived.
Fundamentally, I am working with two rotary encoders and my on board accelerometer.
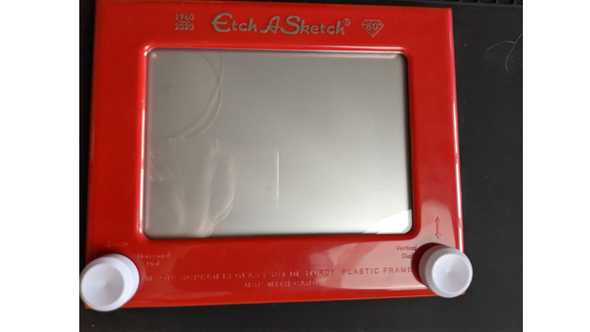
I also had an etch-a-sketch on hand, but unfortunately to take it apart I would need a Dremel saw and I could not access one.

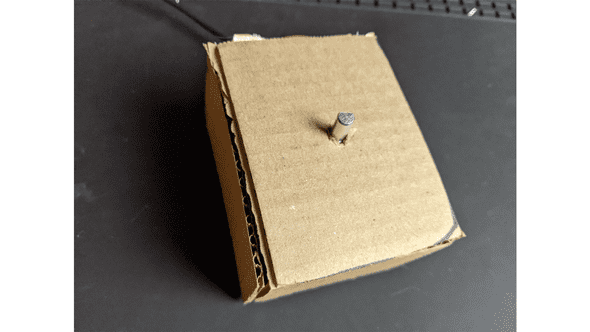
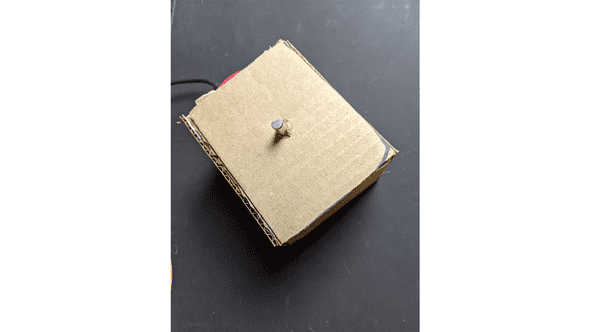
So I opted to make do with what I had and make a small controller.
From there I wired up a prototype to make sure the encoders worked.

And included this code:
#define CLK 4
#define DT 3
#define SW 2

int counter = 0;
int currentStateCLK;
int lastStateCLK;
String currentDir ="";
unsigned long lastButtonPress = 0;

void setup() {

    // Set encoder pins as inputs
    pinMode(CLK,INPUT);
    pinMode(DT,INPUT);
    pinMode(SW, INPUT_PULLUP);

    // Setup Serial Monitor
    Serial.begin(9600);

    // Read the initial state of CLK
    lastStateCLK = digitalRead(CLK);
}

void loop() {

    currentStateCLK = digitalRead(CLK);
    if (currentStateCLK != lastStateCLK  && currentStateCLK == 1){
        if (digitalRead(DT) != currentStateCLK) {
        counter --;
        currentDir ="CCW";
        } else {
        // Encoder is rotating CW so increment
        counter ++;
        currentDir ="CW";
        }

        Serial.print("Direction: ");
        Serial.print(currentDir);
        Serial.print(" | Counter: ");
        Serial.println(counter);
    }

    lastStateCLK = currentStateCLK;

    delay(1);
}
This code produced the below output when turning the rotary switch:

Next up was soldering my rotary encoders so they did not require to be directly in the breadboard.
After soldering I worked on my code for the serial aspect. I made a tiny shoot-em-up to play around with some p5 code. I dove into the noise() function a little bit when trying to create a randomly set of moving enemies.

Finally it came time to assemble the housing and replace the assets.
Ultimately I used 1 rotary encoder, some cardboard, and the onboard accelerometer for this project. The rotary encoder controls the x movement, and the accelerometer controlls the y movement.
And here is my final p5 sketch.
a blog by sam heckle class of itp 2022. doing shit. twitter.


